I have new stamps in the house, and though I've had them for a while...I'm glad pulled them out to play for a bit. These are new Lizzie Anne Designs sets that are available at Simon Says Stamp! The stamps are all clear sets, which is new for Lizzie Anne Designs. It was pretty cool not having to use my Stamp-A-Ma-Jig. ;)

Card Stock: Black, SU DSP
Ink: Craft White
Accessories: Washi Tape
Ink: Craft White
Accessories: Washi Tape

Hey Sugar
Card Stock: Pool Party, Pink Pirouette, White, Cream
Ink: Creamy Caramel, VersaMark
Accessories: White Embossing Powder, Blossom Twine (The Twinery), Scor-Tape, Tombo Multi Glue, Foam Tape
Card Stock: Pool Party, Pink Pirouette, White, Cream
Ink: Creamy Caramel, VersaMark
Accessories: White Embossing Powder, Blossom Twine (The Twinery), Scor-Tape, Tombo Multi Glue, Foam Tape

Labeled With Love Stamps & Dies
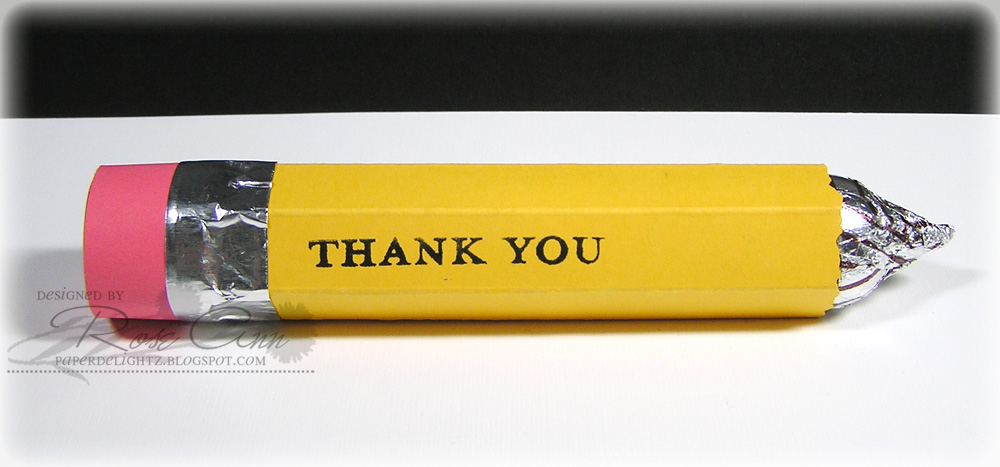
Card Stock: White, Riding Hood Red
Ink: Black, Jelly Roll Pen
Accessories: Toothpicks, Foam Tape
Card Stock: White, Riding Hood Red
Ink: Black, Jelly Roll Pen
Accessories: Toothpicks, Foam Tape

Objects Of Love
Card Stock: White, Island Indigo, SU DSP
Ink: Island Indigo, Copic Markers
Accessories: Ribbon, Foam Tape
Card Stock: White, Island Indigo, SU DSP
Ink: Island Indigo, Copic Markers
Accessories: Ribbon, Foam Tape
Take care,
Rose Ann